Installation Instructions
1. Turn Off Water Supply
Identify the Cold Water braided line under your sink.
Turn off the water supply by the service tap under the sink, or at the water supply meter.
After turning off the water supply, release water pressure turning on the water cold tap.
Undo the cold-water braided line at wall tap or wall fitting.
2. Fit Tap and Pressure Limiting Valve
Fit the dual outlet isolation tap and reconnect the cold-water line to one side. If you only use one outlet block the other side off use the sealing cap.
Note: As a general rule, fittings with coned or flat rubber washers do not require thread tape.
Fit the 3M Multi-function pressure limiting valve to the other outlet of the isolation tap.
The valve has two ¼” outlet ports, select the outlet port that best suits cupboard space and fit the ¼” male to ¼” tube adaptor and use the black poly blanking plug to seal off the unused port.
Use a small amount of the white thread tape on the fittings if they are not already taped.
Note: Fittings in this kit may already be thread-taped ready to installation and use.
3. Fit Filter Head
Check the flow direction on the top of the system head.
With the filter fitted to the head, check the height inside the cupboard – position system up off the cupboard floor [or shelf] a minimum of 50mm – this will allow sufficient space to replace filter cartridges.
If you need the cut the tubing simply cut straight across with a sharp knife so you don’t deform the tube profile.
Only fit the small red locking clips after you have inserted the tubing into the quick connect fittings. If you ever need to remove the tubing you must remove the red locking clips first.
See the quick connect fitting information on the back of this page to learn how to use the quick connect tube and fittings.
Connect the tubing from the outlet side of the Multi-function pressure limiting valve to the inlet side of the filter, push the tubing all the way in before fitting the red locking clips.
4. Install Dedicated Tap (For systems with a new tap)
If installing a small dedicated filter tap on the sink — Place the plastic or rubber washer from the base of the new tap, in the corner of the sink, in the flat section, check under the sink to see where the thread of the tap will go in the cupboard
Make sure there are no other obstructions where the tap thread will be. Use a nail or centre punch to mark the centre of hole.
Use a battery drill to drill the hole, drill slowly and added a few drops of water around the drill bit as you go.
Start with a small drill 5mm or so, and work your way up using about 4 different drills until 12mm. Fit the sink tap, put the big hard washer & nut under the sink.
Tighten up the tap and it doesn’t matter which way the tap faces. Fit the female quick connect tap adaptor to the bottom of the filter tap.
Note: The tap may come with a metal lock nut and small plastic olive and tube insert, these are not required if using the quick connect tap adaptor
5. Turn On and Test
Fit the tube from the new drinking water filter tap to the outlet side of filter.
Turn on the new drinking water filter tap and leave open to allow air to escape while flushing.
Check all connections.
Turn the water supply on slowly and flush the new filter for a couple of minutes.
Turn off the sink filter tap and check for leaks.
Recheck all connections after a few hours for any leaks.
As the filters are so fine you may have some air bubbles in the water for a few days, this will go away.
The 3M NEP-Head in your new system can take a range of 3M filters. You can change the type of replacement filter cartridge to suit specific applications if required in the future.
Contact us if you require any assistance. CLARENCE WATER FILTERS
W: www.clarencewaterfilters.com.au T: 02 6646 8565 E: sales@clarencewaterfilters.com.au
How to Make a Connection with a John Guest Style Fitting
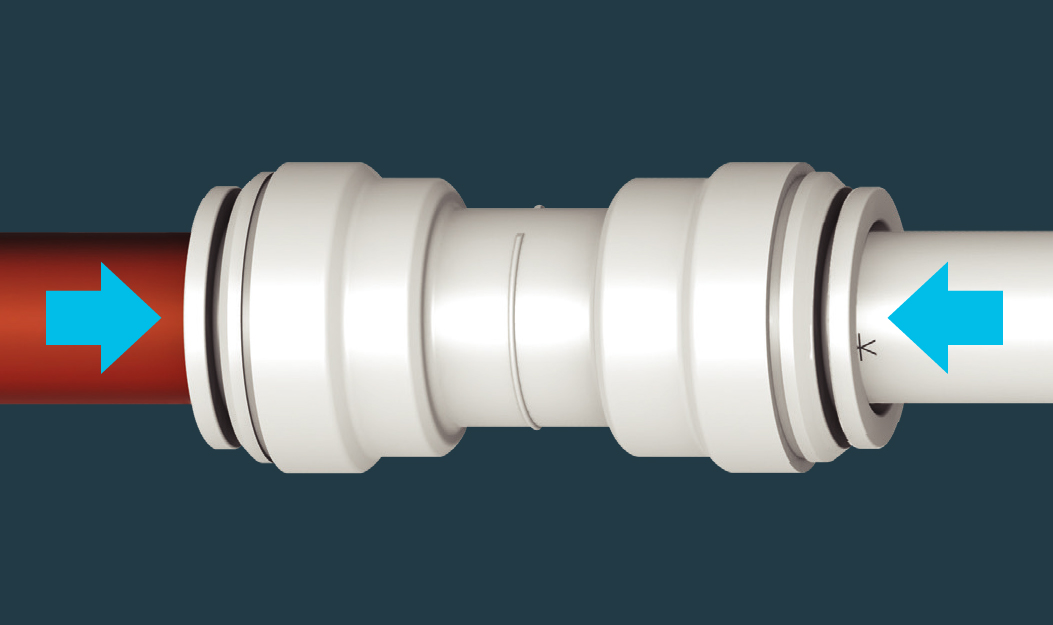
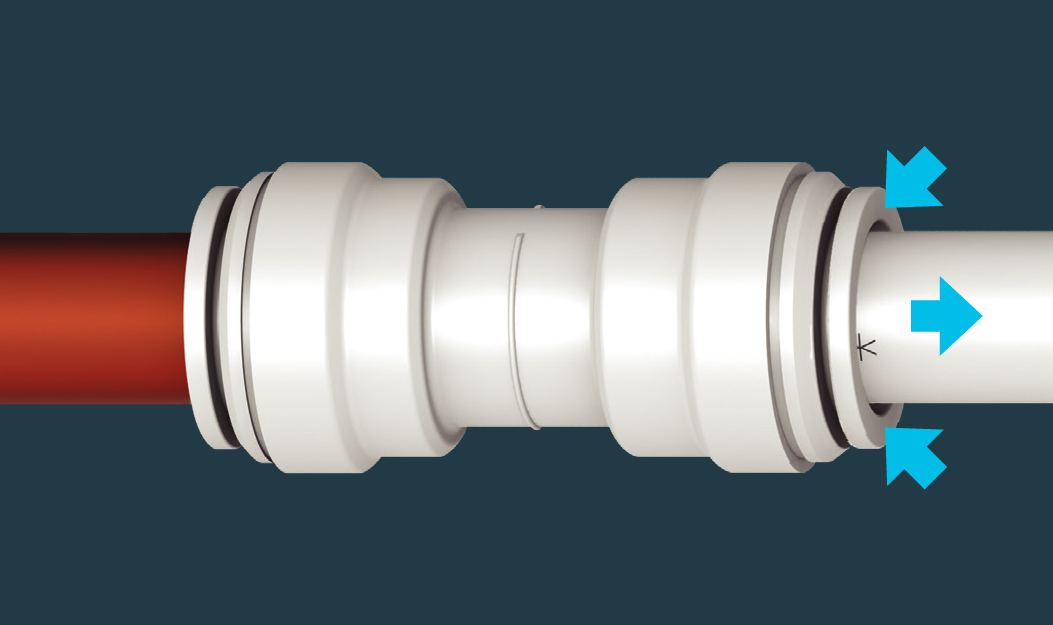
To make a connection, the tube is simply pushed in by hand; the John Guest style collet locking system that holds the tube firmly in place without deforming it or restricting flow.
1. Cut tube square
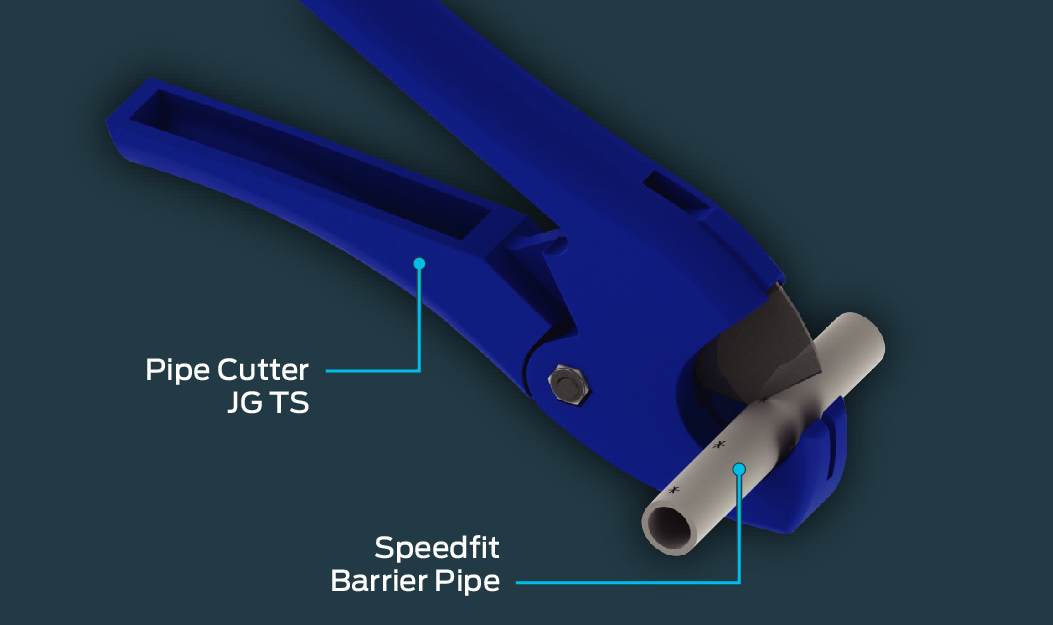
Cut the tube square. It is essential that the outside diameter be free of score marks and that burrs and sharp edges be removed before inserting into fitting.
Use a tube cutter or a very sharp utility knife. The cut needs to be flat so it can form a seal with the o-ring inside the fitting.
For soft or thin-walled plastic tubing, we recommend the use of a tube insert.
2. Insert Tube Into Fitting
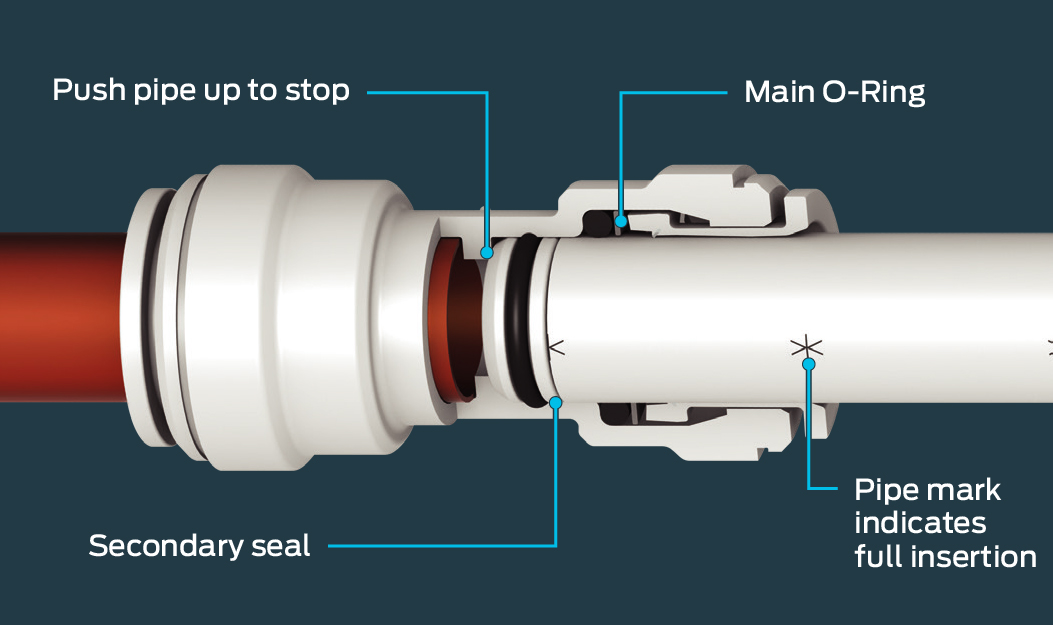
Push the tube into the fitting, to the tube stop. The collet (gripper) has stainless steel teeth which hold the tube firmly in position while the O-ring provides a permanent leak proof seal.
Note that the fitting grips before it seals. Ensure tube is pushed in to the tube stop. You may feel two points of resistance as you push the tubing in. One as it passes the metal teeth, then another as it seals on the o-ring.
3. Pull to check secure
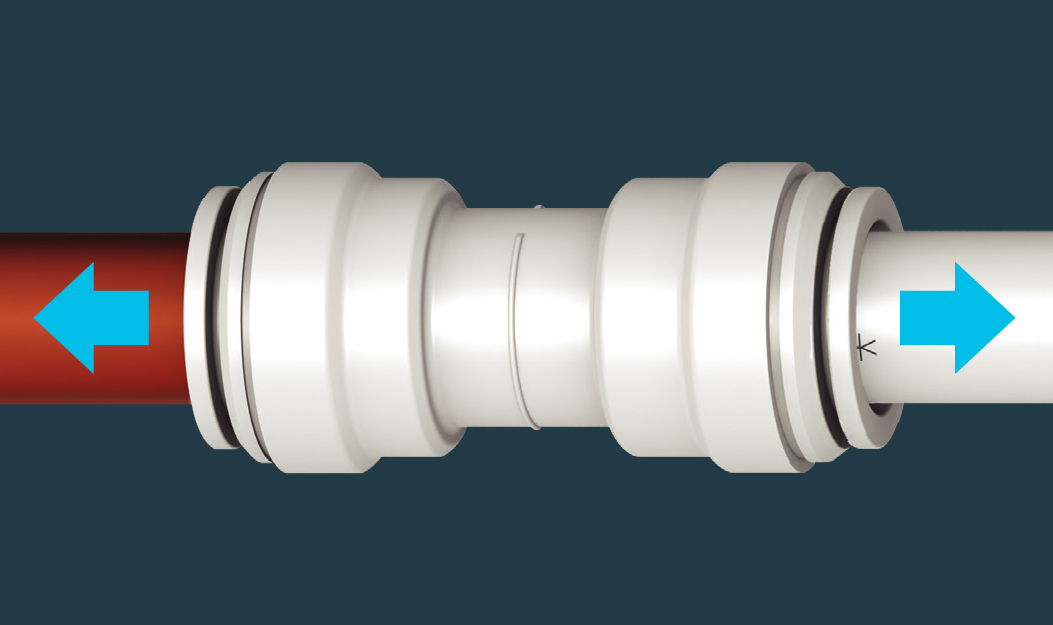
Pull on the tube to check it is secure. It is good practice to test the system prior to leaving site and/or before use.
How to Disconnect a John Guest Style Fitting
1. Push in collet and remove tube
To disconnect, ensure the system is depressurized before removing fitting. Push in collet squarely against face of fitting. With the collet held in this position, the tube can be removed. The fitting can then be re-used.
(Note if the fitting has the red locking clips under the collet, these must be removed before trying to remove the tubing and only re-install the locking clips after the tubing is in place)

